Spring is nature’s signal for renewal, a time when lawns awaken from their winter slumber and begin to thrive. For homeowners eager to transform their yards into lush, green oases, spring lawn maintenance is crucial. By following these expert-backed pro-tips, you can ensure your lawn not only recovers but also flourishes throughout the season.
Introduction: Why Spring Lawn Care Matters
Spring lawn care sets the stage for a vibrant, healthy lawn. It’s more than just aesthetics; a well-maintained lawn enhances your home’s curb appeal and provides a welcoming space for family and friends. Early spring is the perfect time to assess your lawn’s health and implement necessary treatments.
1. Clean Up Winter Debris
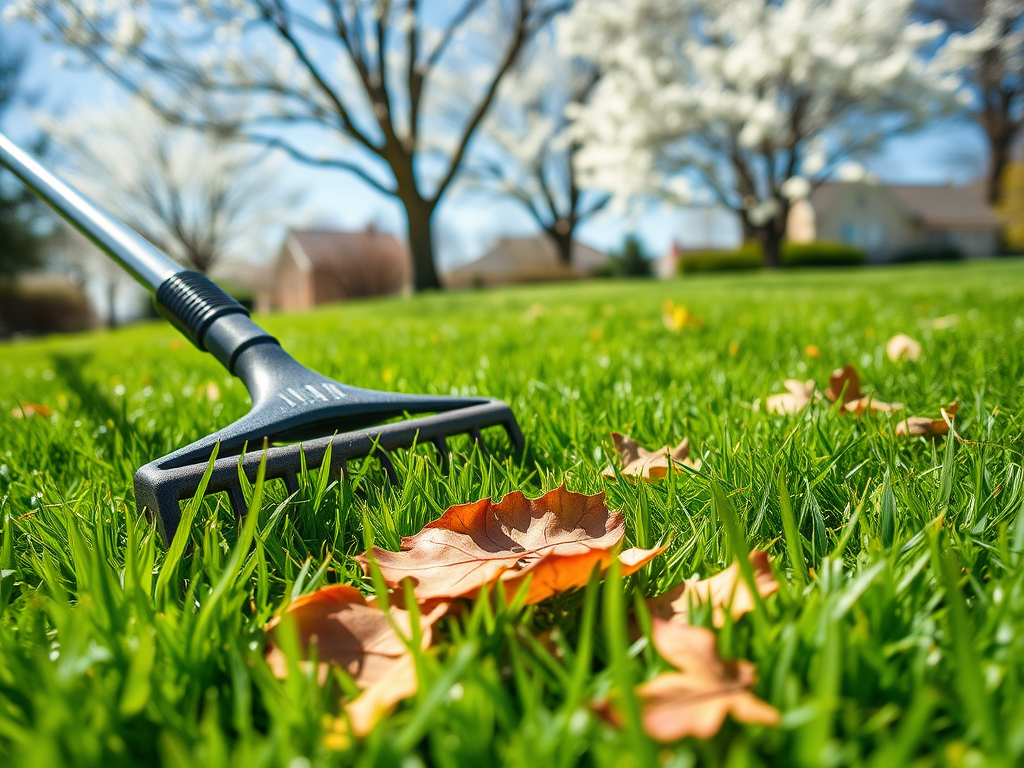
Winter can leave yards cluttered with leaves, branches, twigs, and other organic materials that accumulate throughout the colder months. This debris not only makes your yard look messy but also poses potential problems for the health of your lawn and landscape. Removing winter waste is one of the first steps in preparing your yard for spring growth.
Why It Matters:
- Disease Prevention: Decomposing plant matter can create an environment conducive to fungal diseases, which may harm your grass or plants.
- Pest Control: Dead leaves and branches can provide shelter for pests like insects, spiders, and rodents. Removing debris helps eliminate hiding spots for these unwanted visitors.
- Soil Health: Excessive organic material left on the ground can smother grass and prevent proper air circulation in the soil.
Steps to Clean Up Winter Debris:
- Gather Your Tools:
- Use a sturdy rake, preferably with flexible tines, to effectively remove leaves and small debris.
- For larger branches or heavy debris, you may want to use a shovel or your hands for more manual removal.
- Start Raking:
- Begin by raking through the lawn in one direction to gather leaves and smaller debris into piles.
- Pay attention to areas where debris may have collected under trees, shrubs, or fences. These spots often trap leaves and branches that can be missed otherwise.
- Remove Larger Items:
- Inspect your yard for larger items like broken branches, sticks, or even winter sports equipment (e.g., deflated soccer balls or stray toys).
- Use your hands or a shovel to remove these items, as they cannot be easily picked up by a rake.
- Dispose of Debris Properly:
- Collect all organic material in a sturdy bag or on a tarp for easy transport. Many communities offer curb-side pickup for yard waste, so check local guidelines.
- If you’re composting at home, add the debris to your compost pile. However, avoid adding diseased plant material or weeds with seeds to prevent spreading pests and diseases.
- Consider Leaving Some Material:
- While it’s important to remove most winter debris, consider leaving a small amount of leaves in areas where they can serve as mulch. Mulching helps retain soil moisture and suppresses weeds.
- Be cautious not to leave too much material, as this could still interfere with grass growth.
- Eco-Friendly Alternatives:
- If you have access to a backyard shredder, consider shredding leaves and small debris into fine mulch that can be spread evenly across the lawn. This creates a nutrient-rich covering that benefits soil health.
- For areas with heavy debris, consider using a leaf vacuum or blower to gather material more efficiently.
By taking the time to clean up winter debris, you’re setting the stage for a healthy, vibrant lawn this spring. Not only does it improve the appearance of your yard, but it also supports the overall health of your grass and landscape by preventing disease, pests, and soil compaction.
2. Soil Preparation and Testing
Healthy soil is the cornerstone of a thriving lawn, as it provides essential nutrients and supports grass growth. To ensure optimal conditions, follow these detailed steps:
- Understanding Soil pH:
- Most grass types thrive in slightly acidic soil, ideally between 6.0 and 7.0 on the pH scale.
- A pH level outside this range can hinder nutrient availability, even if nutrients are present.
- Testing the Soil:
- Collect samples from various areas of your lawn, as soil composition can vary across a yard.
- Most standard home kits are reliable enough – I like this one from Garden Tutor personally.
- Adjusting Soil pH:
- For acidic soil (pH below 6.0), add lime to raise the pH level.
- For alkaline soil (pH above 7.0), add sulfur to lower it.
- The amount of lime or sulfur needed depends on your current pH level and soil type, so follow professional recommendations.
- Improving Soil Structure:
- Incorporate organic matter like compost to enhance soil structure and fertility.
- Add organic materials before or after adjusting pH, depending on your testing schedule and goals.
- Monitoring and Maintenance:
- Conduct annual soil tests to monitor pH levels and nutrient content.
- Adjust treatments based on test results to maintain optimal conditions for grass health.
By following these steps, you can create a healthy environment for your lawn, ensuring it thrives throughout the spring and beyond.
3. Choosing the Right Fertilizer
Fertilizing your lawn in spring is crucial for providing essential nutrients that promote strong grass growth. A balanced fertilizer contains nitrogen (N), phosphorus (P), and potassium (K), each playing a specific role:
- Nitrogen (N): Promotes leaf greenness and above-ground growth.
- Phosphorus (P): Encourages root development and overall plant health.
- Potassium (K): Enhances disease resistance and stress tolerance.
Key Considerations
- Fertilizer Type:
- Organic vs. Synthetic: Organic fertilizers, such as compost or manure, are environmentally friendly and release nutrients slowly. Synthetic fertilizers provide quick nutrient boosts but may have a higher environmental impact.
- Slow-Release vs. Quick-Release: Slow-release fertilizers offer sustained nutrient delivery, reducing the risk of overfeeding. Quick-release options provide immediate results but require more frequent applications.
- Grass Type:
- Different grass species have varying nutritional needs. For example, cool-season grasses (like Kentucky bluegrass) may require different nutrients compared to warm-season grasses (like Bermuda grass).
- Soil Testing:
- Conduct a soil test before fertilizing to determine existing nutrient levels and avoid over-application of any single nutrient.
- Application Timing:
- Fertilize in early spring when the ground is no longer frozen, but before the grass begins active growth.
- Avoid fertilizing during drought conditions or immediately before heavy rain to prevent nutrient runoff.
- Frequency and Method:
- Apply fertilizer according to the product instructions, usually once or twice in the spring depending on your lawn’s needs.
- Water the lawn thoroughly after application to ensure nutrient absorption.
- Post-Aeration and Seeding:
- If you’ve recently aerated or seeded your lawn, wait a week before fertilizing to allow new roots to establish.
By considering these factors, you can select the most appropriate fertilizer for your lawn’s specific needs, ensuring healthy grass growth and overall lawn health.
4. Proper Mowing Techniques
Proper mowing techniques play a crucial role in maintaining a healthy lawn. Here are the key points to consider:
- Blade Height Adjustment:
- Raise the mower blades to approximately 3 inches, especially in spring. This allows grass blades to grow longer, reducing stress and promoting thicker growth.
- Avoiding Over-Cutting:
- Avoid setting the blade too low, as this can stress the grass by removing too much of the blade. Early spring is a time when grass is regrowing, and allowing it to reach a reasonable height before mowing helps in building a strong root system.
- Sharp Blades for Clean Cuts:
- Ensure mower blades are sharp to achieve clean cuts. Dull blades can tear the grass, leading to ragged edges and increased susceptibility to disease.
- Grass Type Considerations:
- Different grass species have varying optimal mowing heights. For instance, Kentucky bluegrass might prefer slightly lower heights compared to tall fescue. Adjust the blade height based on your specific grass type.
- Weed Control Through Mowing Height:
- Taller grass blades can help shade out weeds by reducing sunlight availability for weed seeds, acting as a natural weed control method.
- Mowing Frequency and Maintenance:
- Raising the blade height may allow for longer intervals between mowing sessions. Additionally, regular maintenance of the mower, including blade sharpening, is essential for efficient cutting and lawn health.
By following these guidelines, you can promote a strong, healthy lawn that resists weeds and thrives throughout the growing season.
5. Aerating Your Lawn
Aerating your lawn is a beneficial practice that involves creating small holes in the soil to enhance air circulation, water infiltration, and nutrient access for grass roots. Here’s a detailed guide to help you understand and effectively implement this process:
- Understanding Compaction and Thatch
- Compacted Soil: Heavy foot traffic or equipment use can compact the soil, reducing its ability to hold water and oxygen, which are essential for root health.
- Thatch Accumulation: A thin layer of dead grass stems and leaves (thatch) is natural. However, excessive thatch can hinder water and nutrient penetration, potentially harming the lawn.
- Benefits of Aerating
- Improved Air Circulation: By introducing oxygen into the soil, aeration supports root respiration, enhancing overall grass health.
- Enhanced Water Infiltration: Aeration helps prevent water runoff by allowing moisture to reach the roots more effectively, promoting healthier growth.
- Tools and Methods
- Mechanical Aerators: Machines that punch holes into the soil are commonly used for larger lawns. They can be rented or hired.
- Manual Methods: For smaller areas or lack of machinery access, manual tools can be used to aerate the lawn effectively.
- Optimal Timing
- Spring and Fall: These seasons are ideal for aeration as they offer warm soil temperatures in spring and cooler conditions in fall, both conducive to grass health.
- Weather Considerations: Aerate when the soil is dry enough to avoid compaction but moist enough to allow easy hole creation.
- Frequency
- Regular Lawns: If your lawn doesn’t exhibit signs of compaction or excessive thatch, annual aeration may suffice.
- Problematic Conditions: Increase frequency if you notice compacted soil, water runoff issues, or unhealthy grass growth patterns.
- Proper Execution
- Guidelines: Follow instructions for tool use to avoid damaging the lawn. Ensure holes are spaced adequately and cover the entire lawn area.
- Complementary Practices: Address other lawn issues like pests or diseases before aerating to maximize benefits.
- Grass and Soil Variations
- Grass Types: Different grass species may respond differently to aeration; research specific requirements for your lawn type.
- Soil Types: Sandy versus clay soils may require varied approaches, so adapt techniques accordingly based on soil characteristics.
- Post-Aeration Care
- Recovery Period: Allow the lawn a short recovery period post-aeration, during which it can benefit most from improved conditions.
- Follow-Up Practices: Combine aeration with other lawn care practices like watering and fertilization for optimal results.
Always consider your lawn’s specific needs and consult additional resources for tailored advice.
6. Managing Weeds Effectively
Weeds can overtake your lawn if not controlled promptly. Early spring is the best time to tackle them, using pre-emergent herbicides to prevent new growth and post-emergent treatments for existing weeds.
- Understanding Pre-Emergent Herbicides:
- Definition: These herbicides are applied before weed seeds germinate, preventing their growth.
- Application Timing: Early spring is ideal when weed seeds begin to germinate. Optimal conditions include specific temperature ranges and weather conditions; check product guidelines for best results.
- Choosing the Right Herbicide:
- Pre-Emergent: Select products specifically designed for your local weeds, such as crabgrass preventers.
- Post-Emergent: Use selective herbicides to target specific weeds without harming grass. Ensure compatibility with your grass type by checking product labels.
- Application Methods and Safety:
- Preparation: Water the area before applying herbicides to ensure effective absorption.
- Avoidance: Prevent drift onto desirable plants by avoiding windy conditions and using appropriate equipment.
- Timing: Apply in the early morning or evening to avoid direct sunlight, which can degrade herbicide effectiveness.
- Frequency of Treatment:
- Pre-Emergent: Typically applied once in early spring, but may need reapplication depending on weather and weed pressure.
- Post-Emergent: Frequency varies based on weed species and severity; follow product instructions for repeat applications.
- Natural Alternatives:
- Consider spot treatments with vinegar or boiling water for small infestations. These methods are less effective on large areas but offer a chemical-free option.
- Long-Term Weed Prevention:
- Soil Health: Enhance soil health to promote grass growth, making it harder for weeds to establish.
- Mulching: Use mulch to prevent weed seeds from germinating and reduce soil temperature fluctuations.
7. Watering Strategies
Proper watering is essential for maintaining a healthy lawn, as it provides the necessary moisture while preventing issues like fungal growth and water runoff.
Steps:
- Deep Watering: Water deeply once or twice a week, depending on rainfall. This encourages roots to grow deeper, making the lawn stronger and more drought-resistant.
- Optimal Timing: Water in the early morning to allow absorption before evaporation, reducing the risk of fungal growth that can occur with evening watering.
- Soil Consideration: Be mindful of your soil type. Sandy soil may need more frequent watering due to quicker drainage, whereas clay soil retains water longer and requires less frequent irrigation.
- Check Soil Moisture: Use a simple test by inserting your finger about 2-3 inches into the soil. If it’s dry at this depth, it’s time to water.
- Efficient Watering Methods: Consider using soaker hoses or drip irrigation systems to minimize runoff and maximize water efficiency.
- Avoid Overwatering: Be cautious not to overwater, as excessive moisture can deprive grass roots of essential oxygen.
By following these strategies, you can ensure your lawn receives the right amount of water, promoting healthy growth and resilience.
8. Preventing Common Issues
Proper watering is essential for maintaining a healthy lawn, as it provides the necessary moisture while preventing issues like fungal growth and water runoff.
Steps:
- Deep Watering: Water deeply once or twice a week, depending on rainfall. This encourages roots to grow deeper, making the lawn stronger and more drought-resistant.
- Optimal Timing: Water in the early morning to allow absorption before evaporation, reducing the risk of fungal growth that can occur with evening watering.
- Soil Consideration: Be mindful of your soil type. Sandy soil may need more frequent watering due to quicker drainage, whereas clay soil retains water longer and requires less frequent irrigation.
- Check Soil Moisture: Use a simple test by inserting your finger about 2-3 inches into the soil. If it’s dry at this depth, it’s time to water.
- Efficient Watering Methods: Consider using soaker hoses or drip irrigation systems to minimize runoff and maximize water efficiency.
- Avoid Overwatering: Be cautious not to overwater, as excessive moisture can deprive grass roots of essential oxygen.
Conclusion: The Payoff of Diligence
By following these spring lawn maintenance pro-tips, you’ll be rewarded with a lush, healthy lawn that enhances your home’s beauty and provides endless hours of enjoyment. Remember, consistency is key—regular care throughout the season ensures long-term health and vitality for your lawn.
With a bit of effort and the right approach, your yard will soon be the envy of the neighborhood. Happy gardening!

Leave a comment